Exhaust and propeller

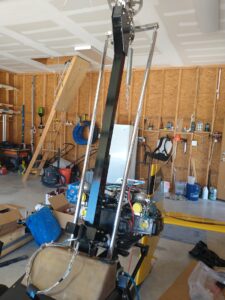
I set the pitch on the prop and installed it.  Had to cut a small board at an 11 degree angle and use it to set the pitch.  This prop did not come with a pitch setting guide like some I’ve seen.

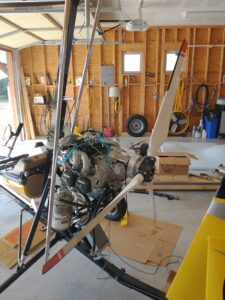
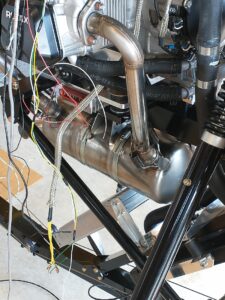
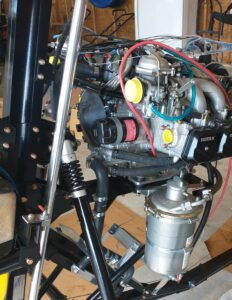
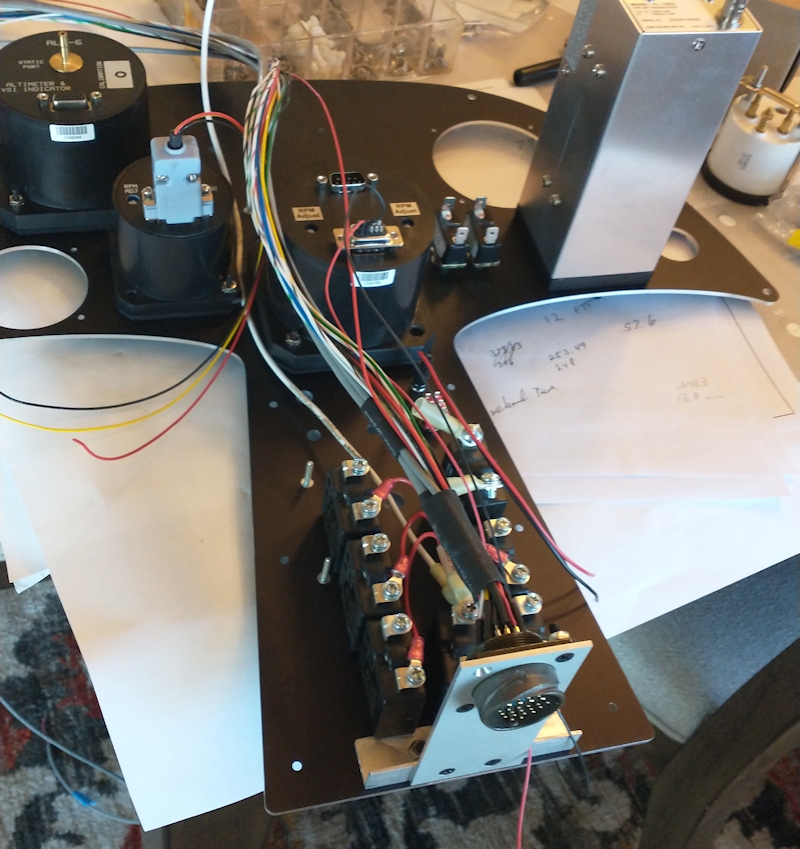
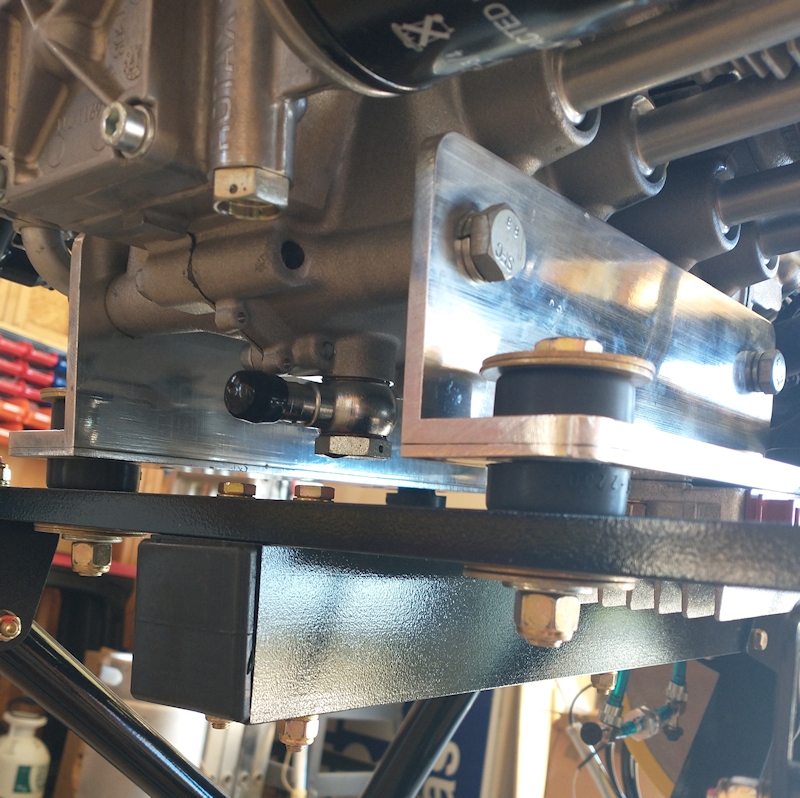
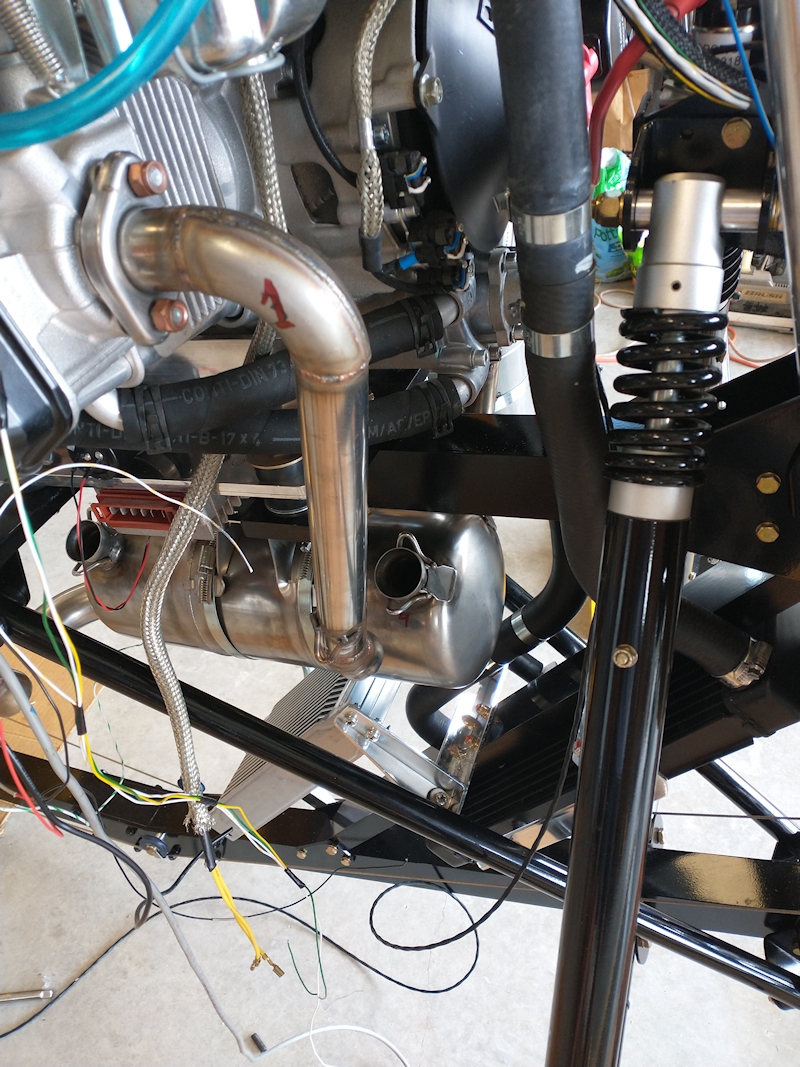
Then I installed the exhaust system.  I had some trouble lining up one of the exhaust tubes but finally got everything lined up flange bolts torqued and the springs installed.  Now I need to safety wire the springs.  I’m waiting on some smaller braided sleeving so that I can finish the engine and rotor rpm wiring.

Coolant hoses go on

Today I installed the hoses for the radiators for engine oil and coolant.  Pretty straighforward except for the hose from the engine oil line back to the sump.  The rotax engine uses a banjo type fitting and getting the hose and clamp on and tight was a bit of a pain.  I also had to lift the engine up to get the oil tank bracket mounting bolts in, bracket should go on before engine.

Control Rods

I installed the control rods so that I can see how much room I need for wiring and the fuel system knowing that I will have to disconnect them to get the Gyro out of the garage.

N Number

N Number decals came in yesterday and I could not wait to put them on.

Tail assembly

The tail was shipped in several pieces requiring basic installation of the horizontal and vertical stabilizers onto the keel,  installation of the rudder, fabrication and installation of the rudder cables and turnbuckles and connection up to the nose wheel and steering assembly.


Instrument panel and controls

I installed the main wiring harness inside one of the frame tubes. I also fabricated a mounting bracket for the cockpit side main wiring harness and started wiring the panel.  The bracket will hold the 24pin connector and make wiring much easier.     I’ve mounted the main control cluster but will wait until the seat is repaired before continuing.

Engine goes on

I installed the engine using my tractor.  I have to tilt the rotor head to get the airframe out of the garage! Once I had the frame back in the garage and started installing engine mounts and bolts realized that the bolts I have are to long. 

Even adding all of the large washers I had in the kit I could not get the mounts the way I likes so ordered 4 AN6-24A bolts.  They should be here this weekend. In the meantime I continue working with other parts of the kit. 

Parts being assembled

I had intended to update progress on my build on a daily basis – that was overly optimistic!  Here are a few images taken as I began assembling my kit.            

Instruments

Some of the instruments that will be installed on the front panel.