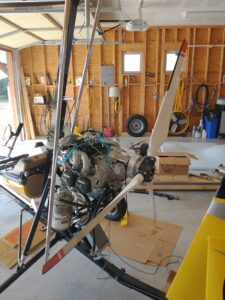
I set the pitch on the prop and installed it. Had to cut a small board at an 11 degree angle and use it to set the pitch. This prop did not come with a pitch setting guide like some I’ve seen.
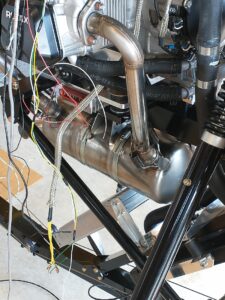
Then I installed the exhaust system. I had some trouble lining up one of the exhaust tubes but finally got everything lined up flange bolts torqued and the springs installed. Now I need to safety wire the springs. I’m waiting on some smaller braided sleeving so that I can finish the engine and rotor rpm wiring.
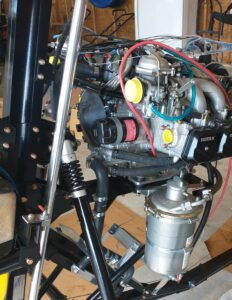
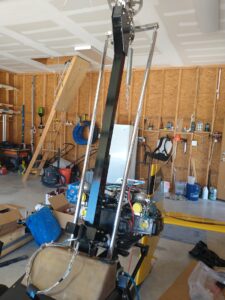
Today I installed the hoses for the radiators for engine oil and coolant. Pretty straighforward except for the hose from the engine oil line back to the sump. The rotax engine uses a banjo type fitting and getting the hose and clamp on and tight was a bit of a pain. I also had to lift the engine up to get the oil tank bracket mounting bolts in, bracket should go on before engine.
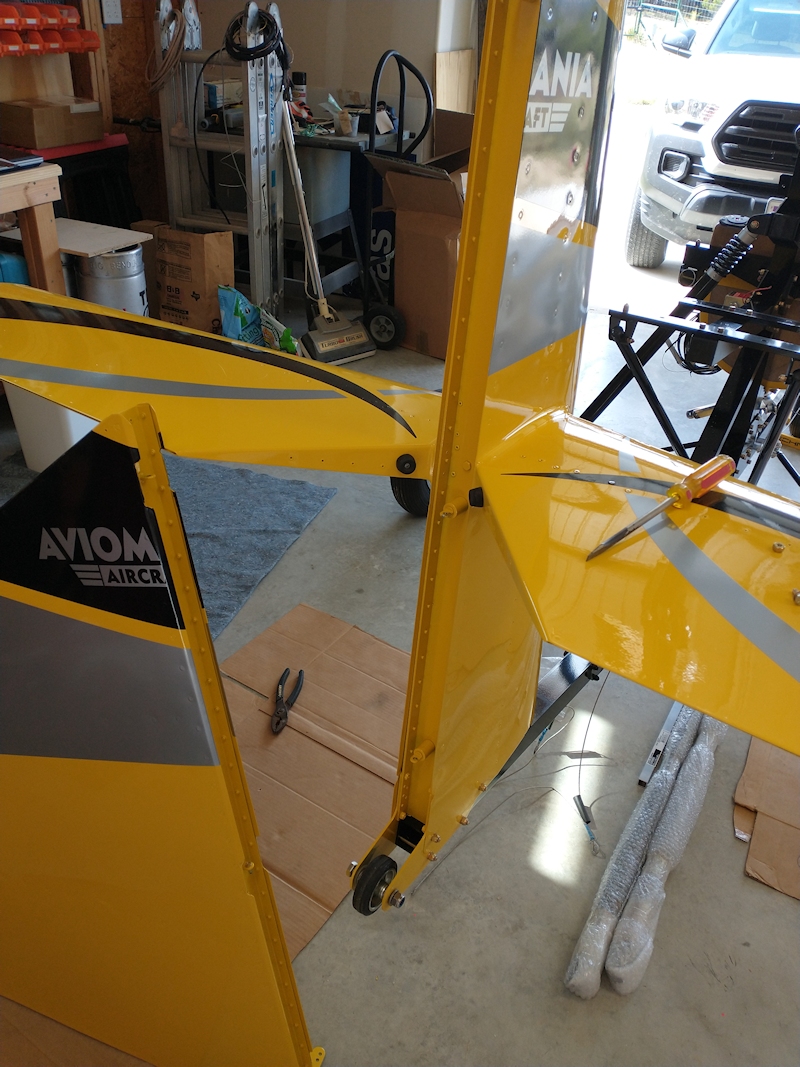
I installed the control rods so that I can see how much room I need for wiring and the fuel system knowing that I will have to disconnect them to get the Gyro out of the garage.
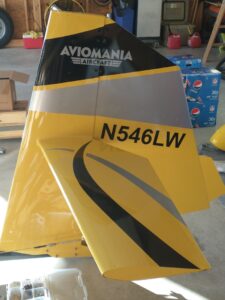
N Number decals came in yesterday and I could not wait to put them on.